

Are you looking to convert your FLAC audio files to the universally supported MP3 format? Whether you're dealing with compatibility issues or simply want to ensure your music files work seamlessly across all devices, AudioKies is here to help. AudioKies is a versatile and powerful tool designed for all your audio conversion needs, including FLAC to MP3.
With its user-friendly interface and advanced features, you can effortlessly convert multiple files in just a few clicks without compromising audio quality. This guide will walk you through the simple steps to perform FLAC to MP3 conversion using AudioKies. It makes your audio files more accessible than ever.
How to Convert FLAC to MP3 Using AudioKies on PC or Mac
AudioKies supports MP3, M4A, WAV, FLAC, AAC, and many other audio formats while giving you control over bitrate, sample rate, and audio channels. Whether you are a beginner or an advanced user, the four steps below make batch conversion quick and easy.
Download and Install AudioKies
Before getting started, please download and install the AudioKies app on your PC or Mac first. Once it is done, open the app and click the Audio Converter menu for converting audio files between different formats.
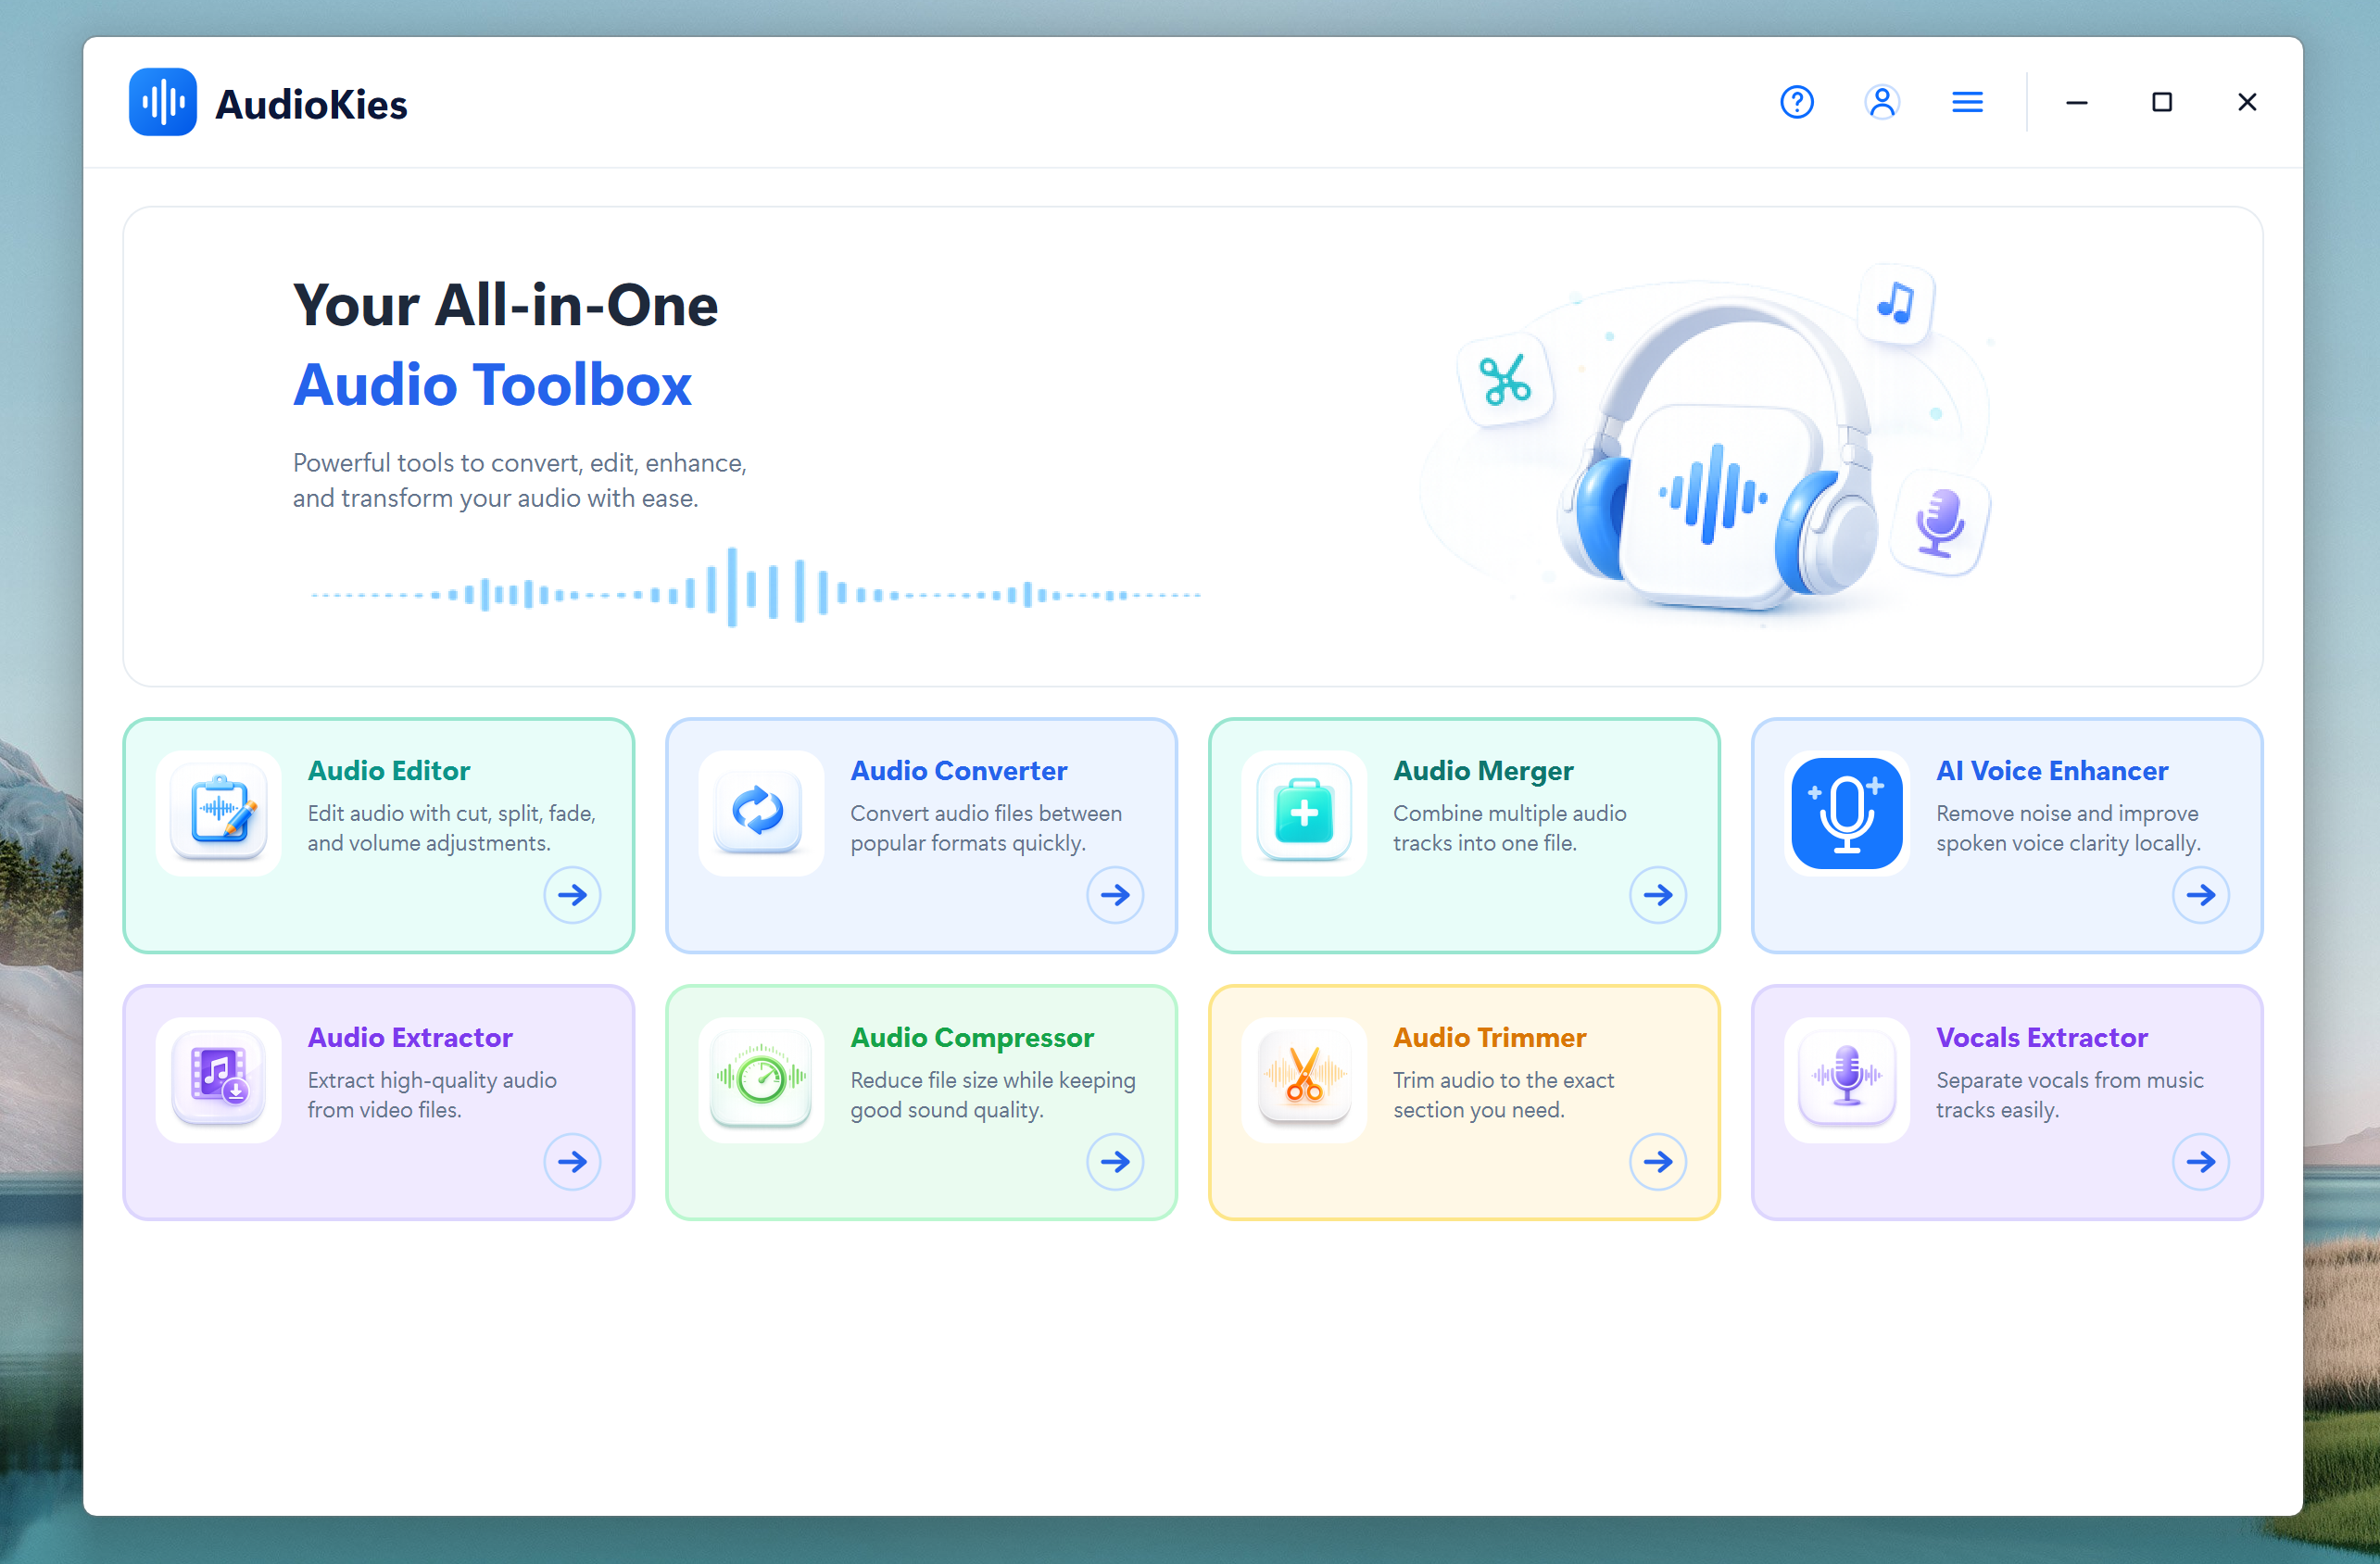
Tip: Keep AudioKies open after installation—you'll start in the Converter tool.
Add the FLAC Files
From the audio conversion Window. Select one or more FLAC files or a foder into the app by clicking the Add Files button. AudioKies queues them together so you can convert the whole folder in one run.
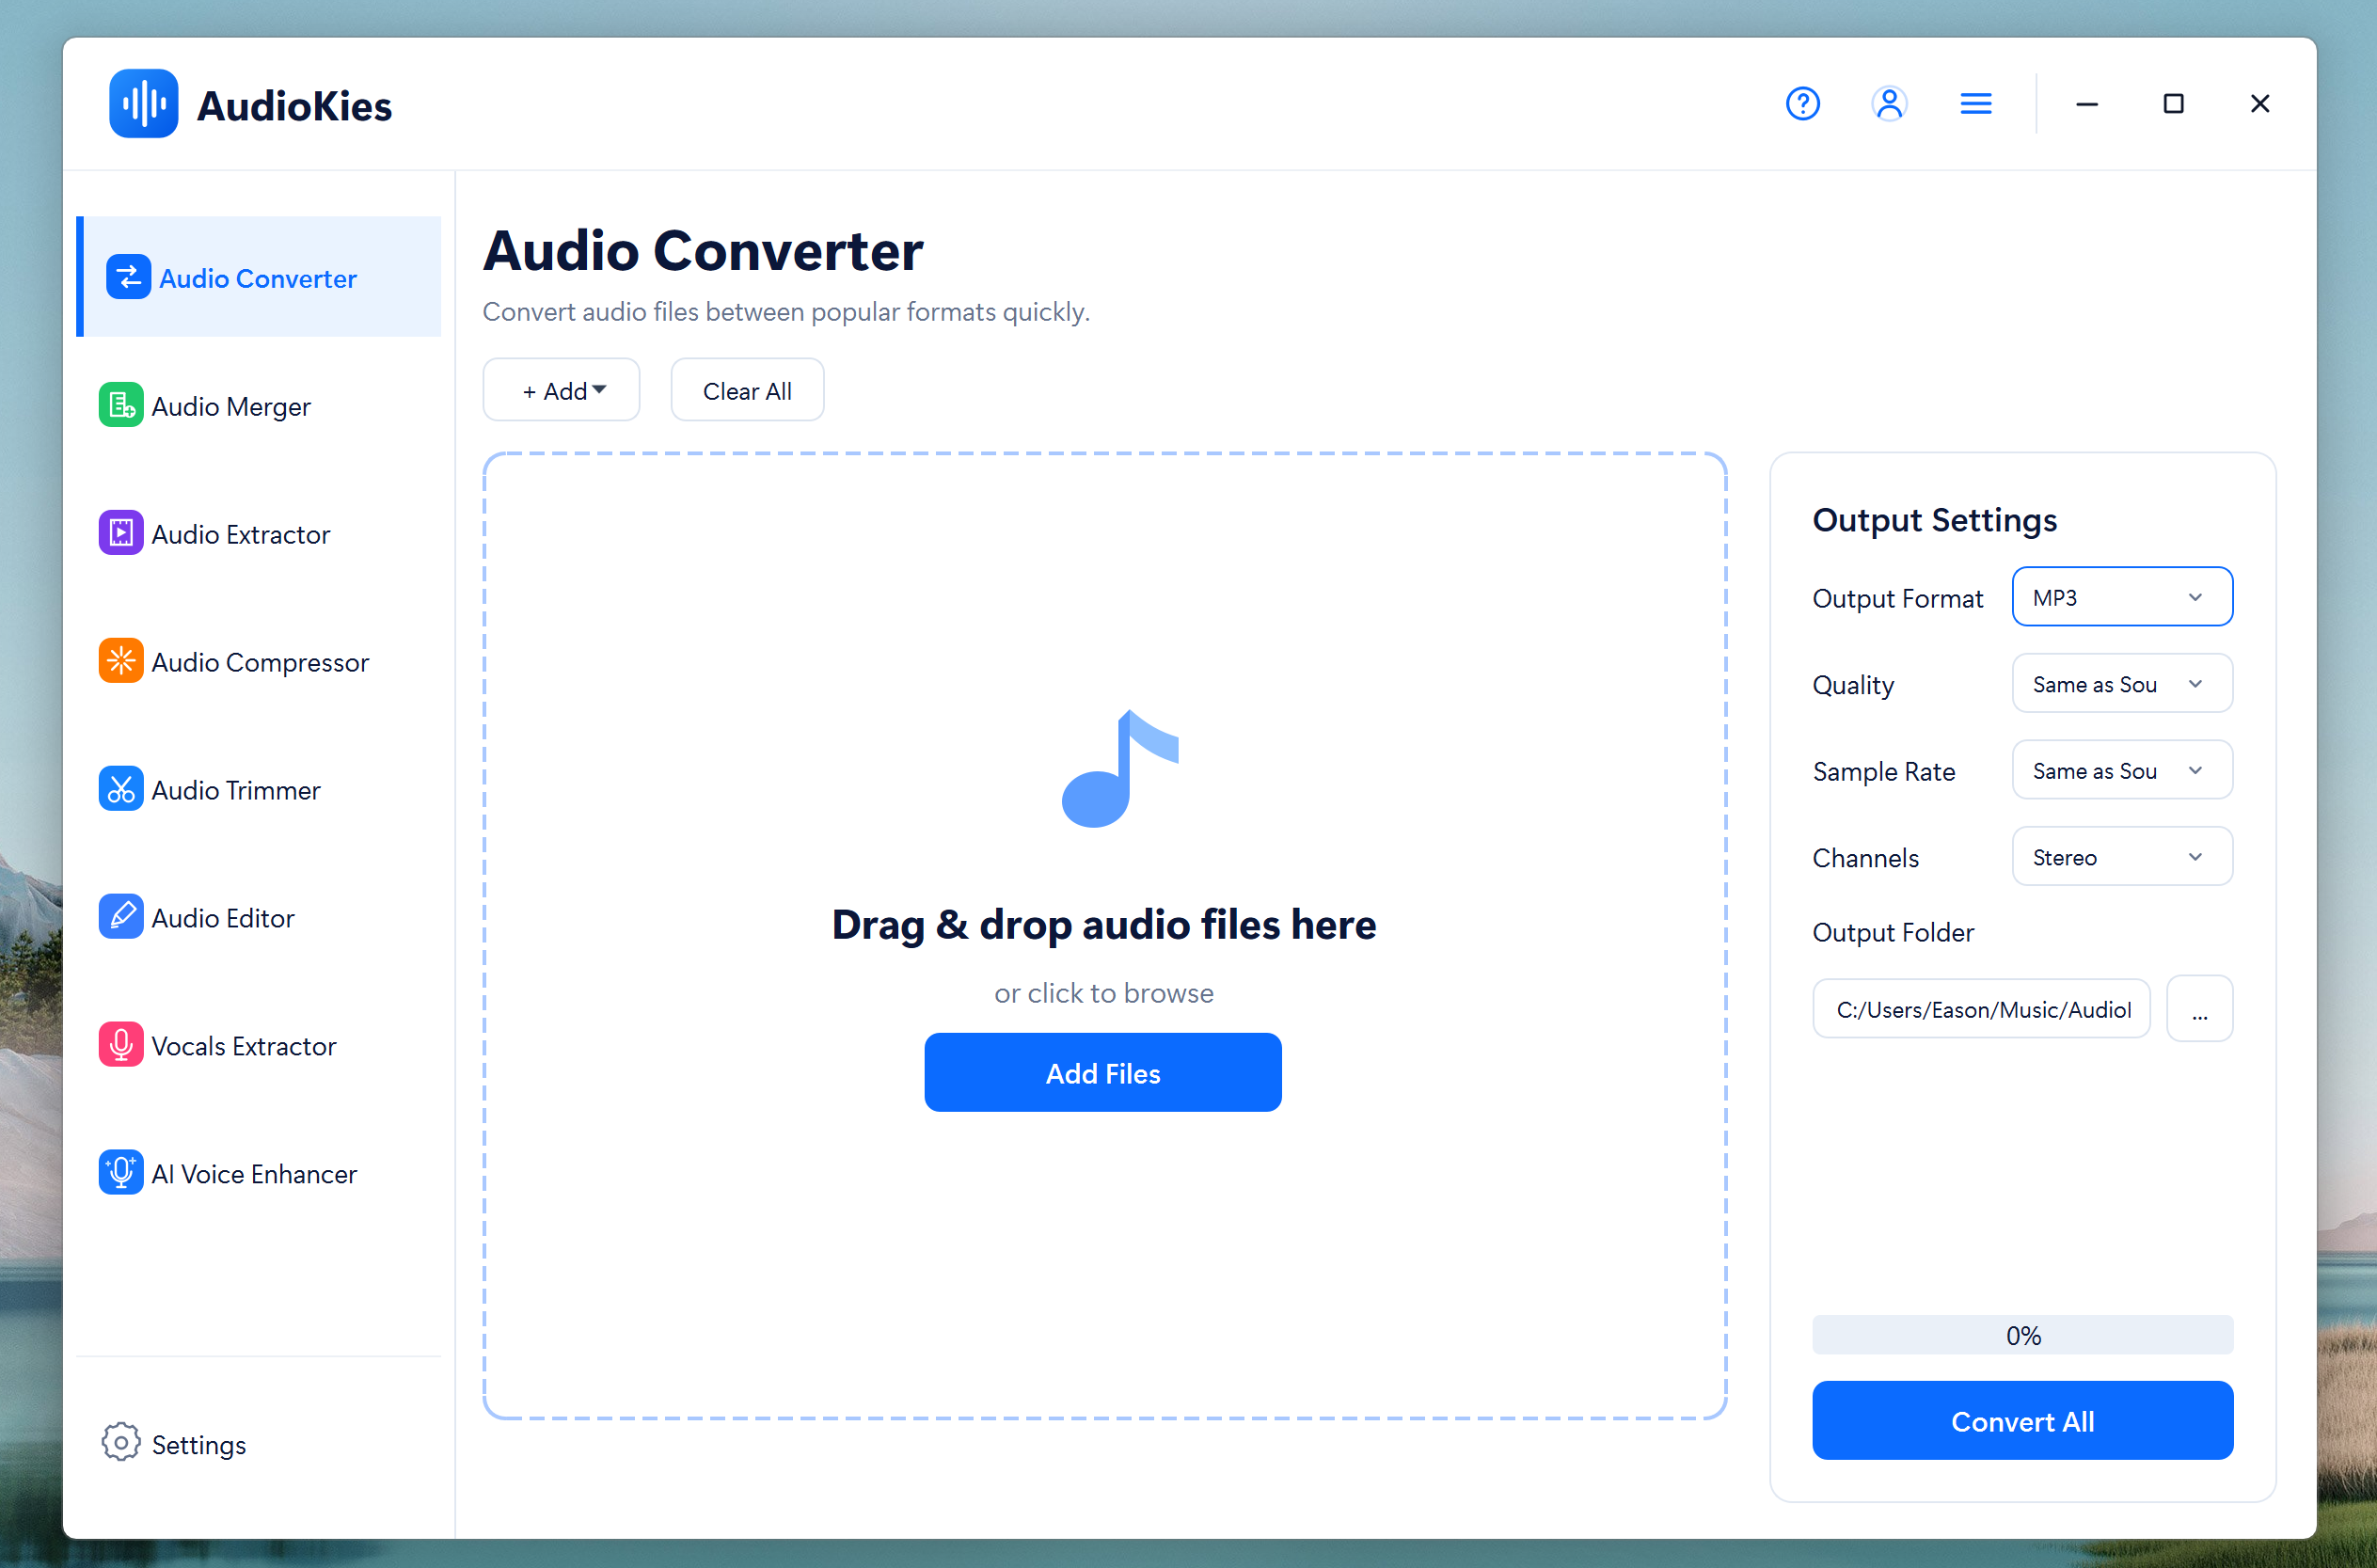
Batch shortcut: Hold Ctrl on Windows or Command on Mac to select several files.
Set MP3 as the Output Format
Open the Output Format menu at the upper right corner and choose MP3 as the output format. The default settings work well for most music and speech files, or you can adjust bitrate and sample rate when needed.
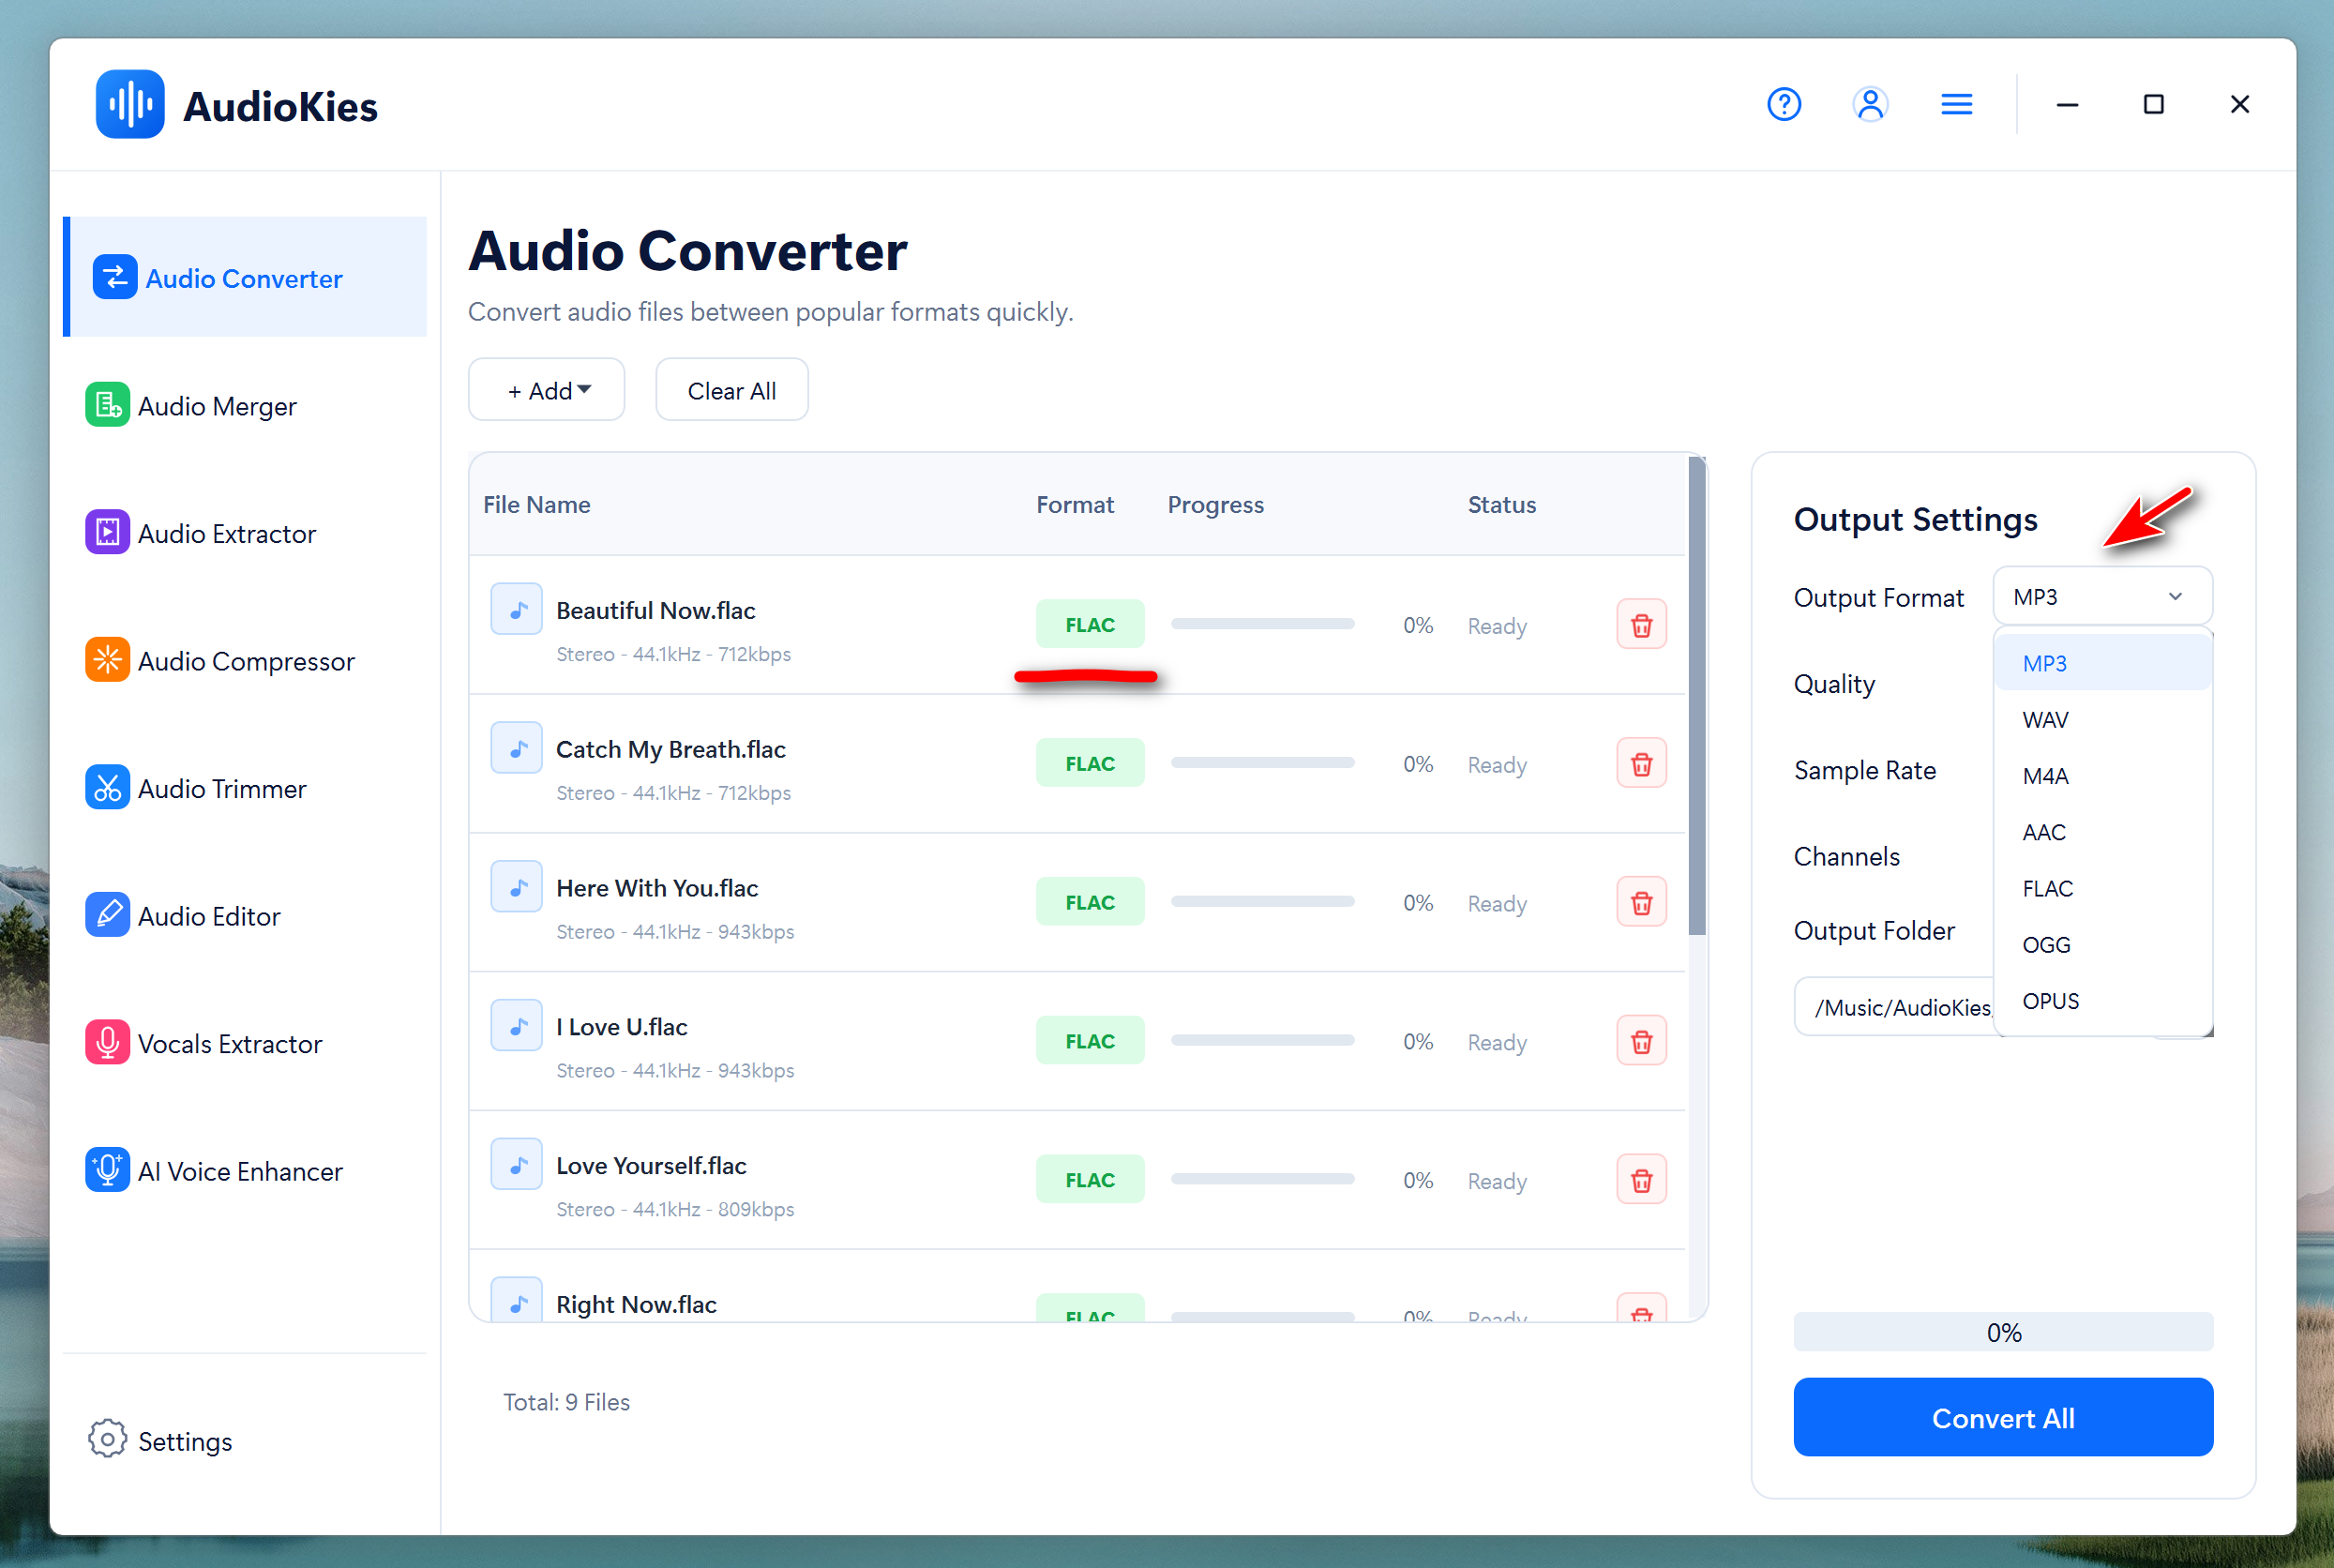
Recommended: 192 kbps for everyday listening, or 320 kbps for higher quality.
Choose an Output Folder and Start Conversion
Select an output folder under the Output Settings to save the converted audio files, then click the Convert All button at the bottom to start the conversion. This will be done very quickly thanks to the powerful conversion engine.
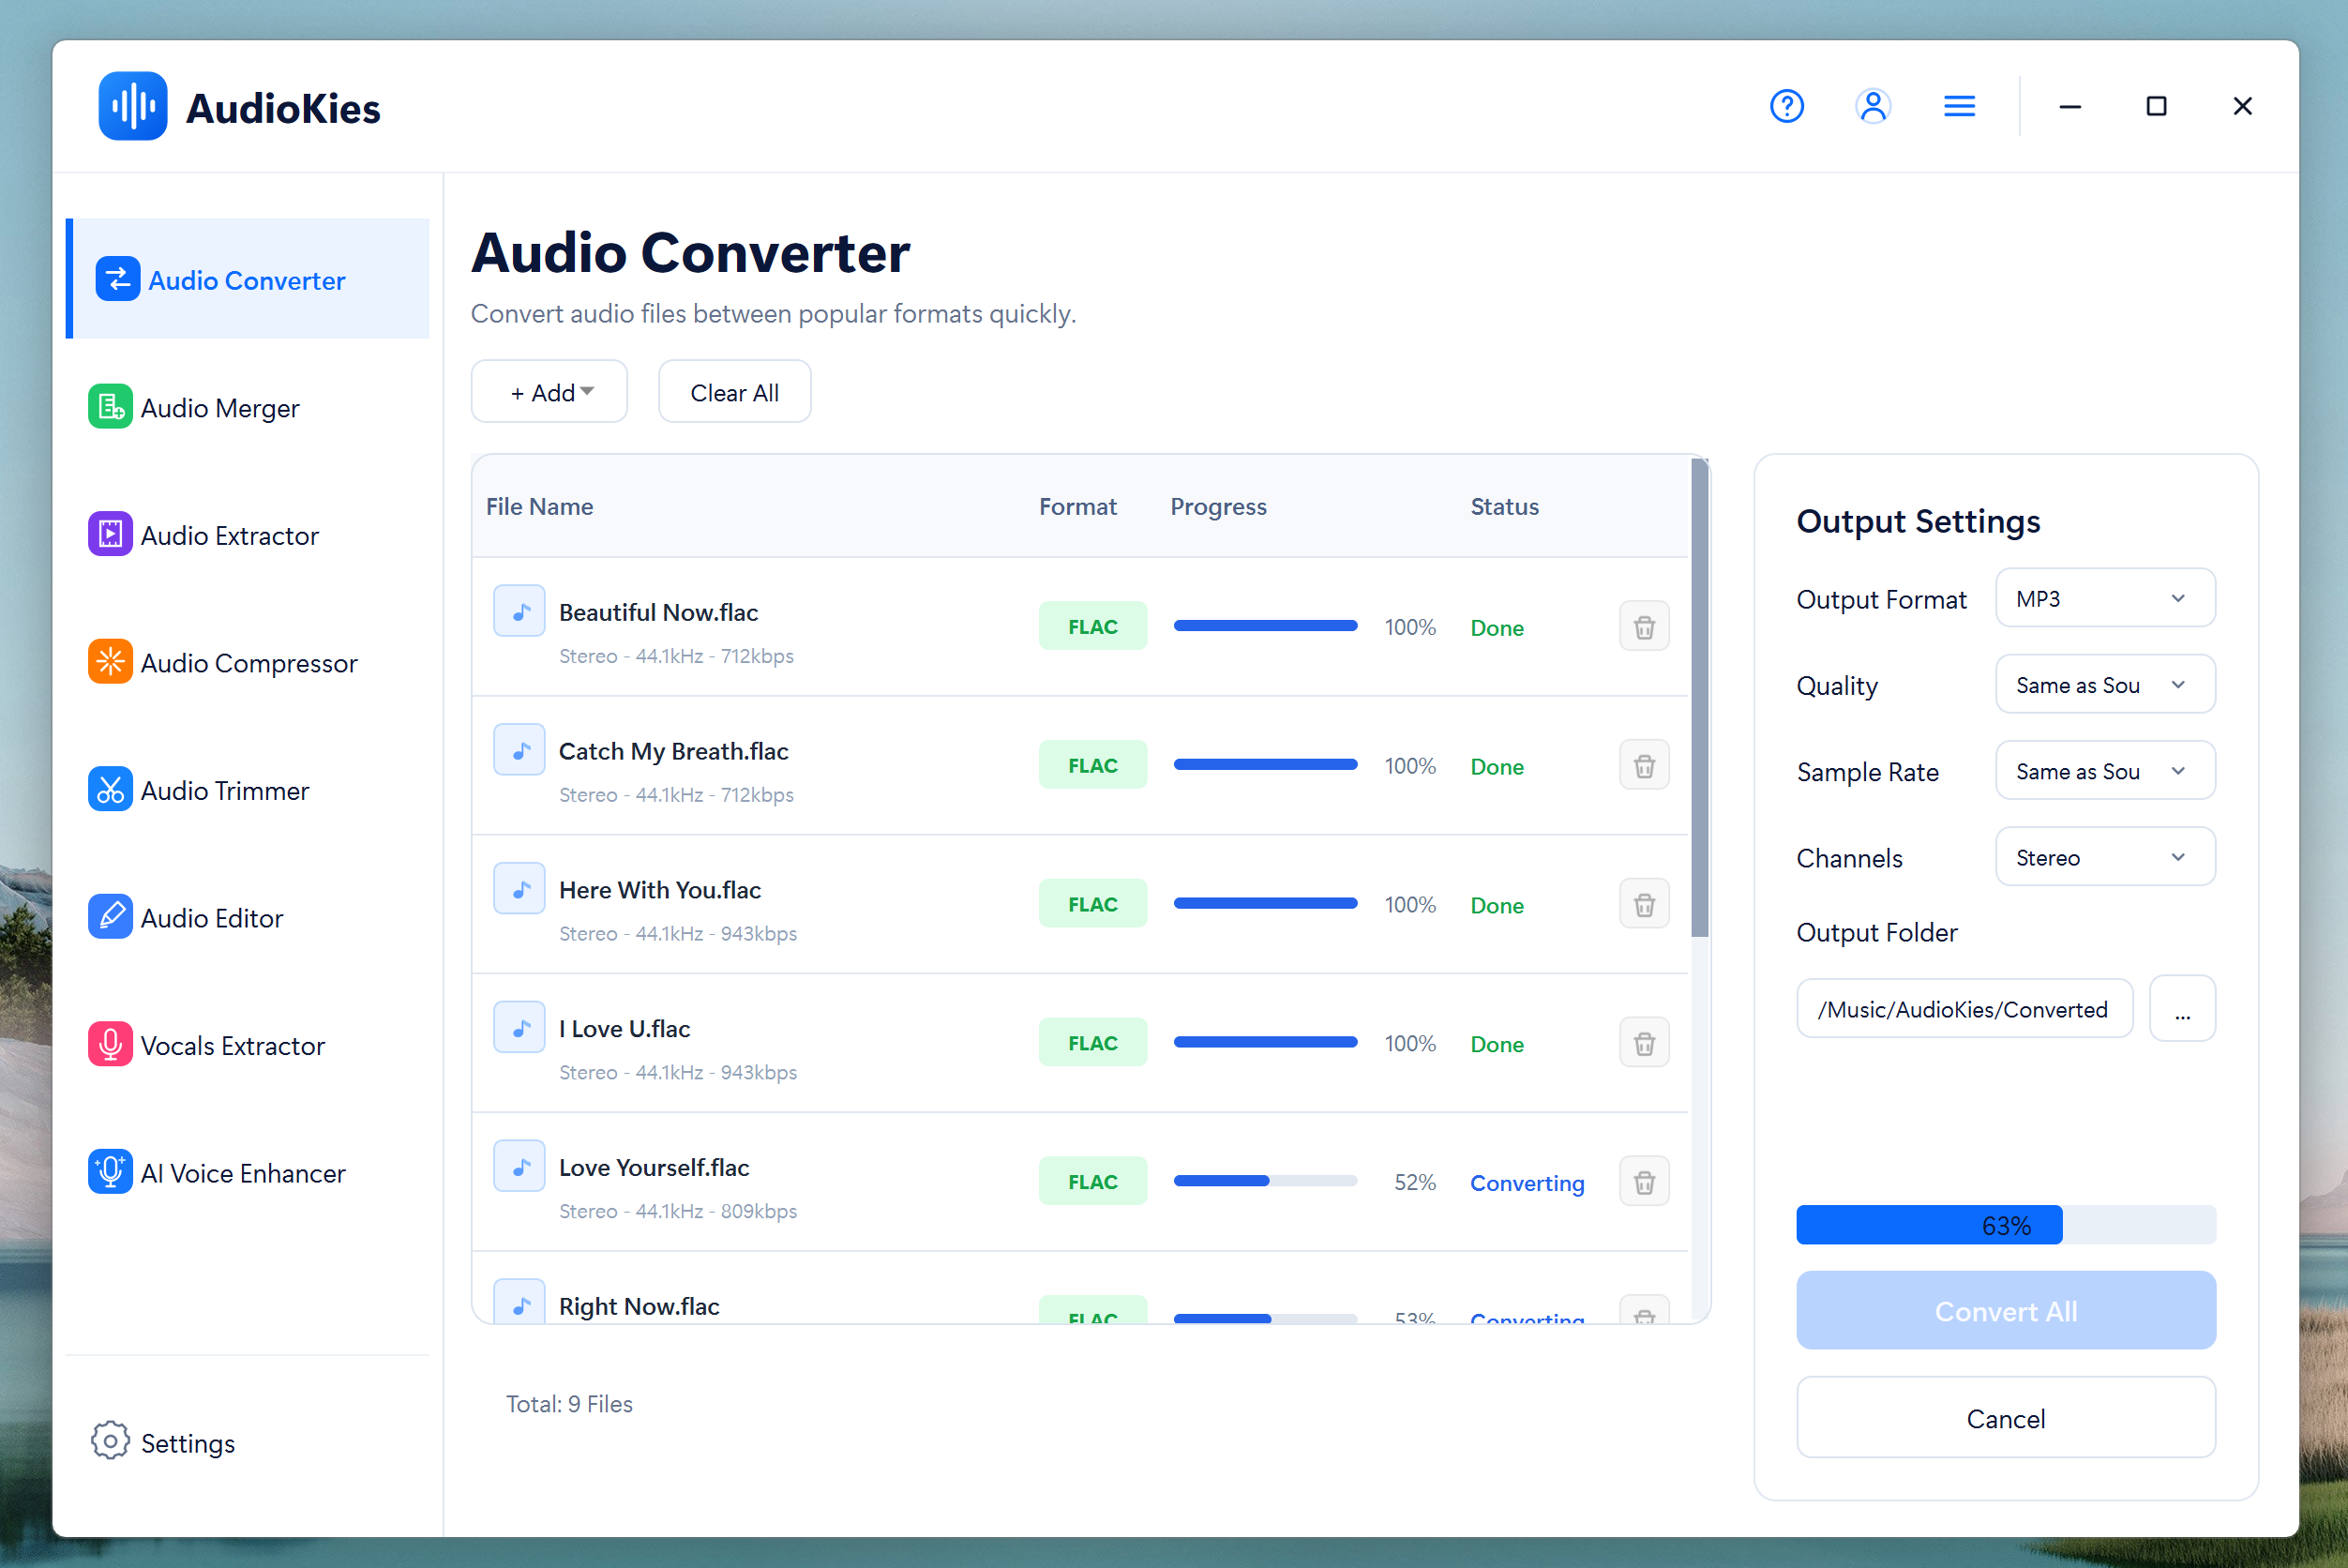
Go and Find the Converted Files
When the conversion is done, the output folder will be opened automatically. By default, the converted files will be saved at:
C:\Users\Your_User_Name\Music\AudioKies\Converted
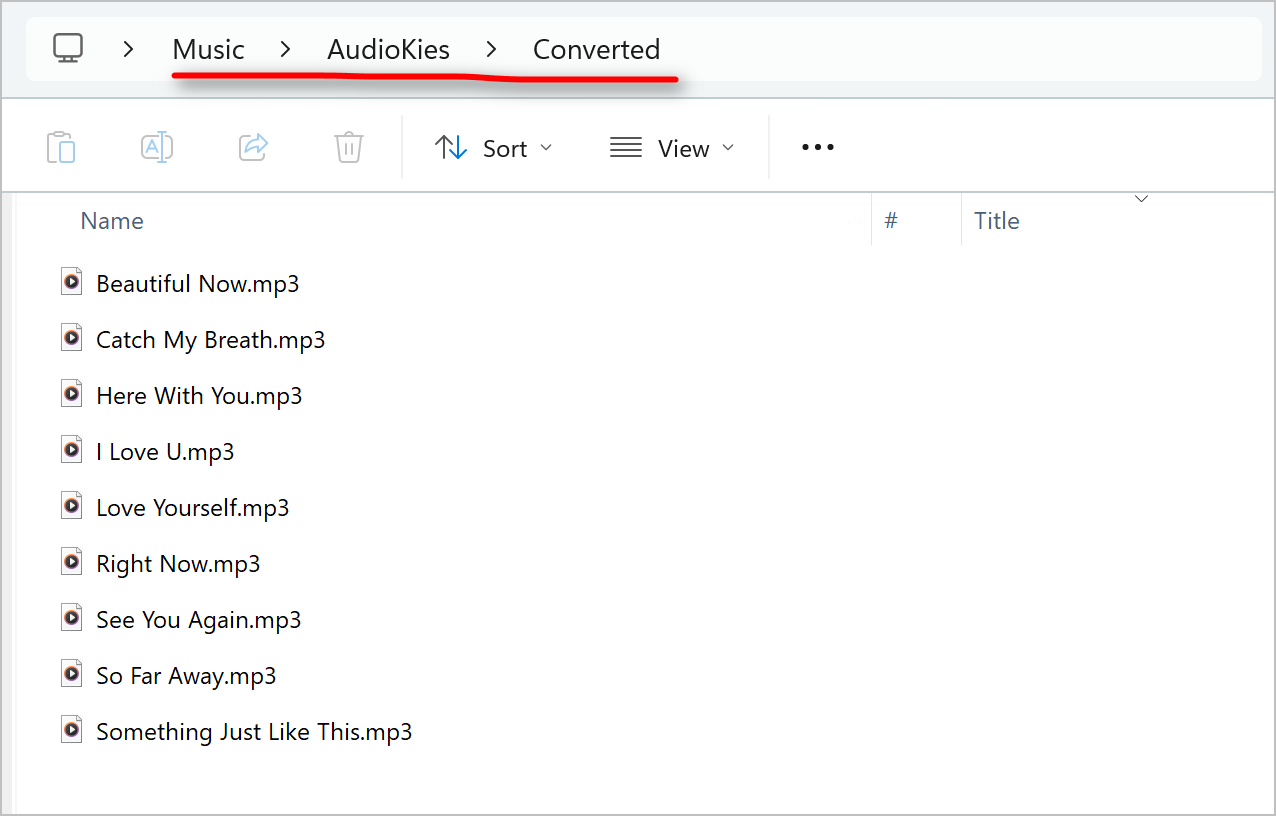
Your original FLAC files stay untouched. MP3 copies are saved to the folder you just selected.
FAQs
Will converting FLAC to MP3 reduce audio quality?+
Both FLAC and MP3 are compressed formats, so re-encoding can introduce a small quality change. Choosing 192 or 320 kbps helps preserve detail for most listening.
Can I convert multiple FLAC files at once?+
Yes. Select multiple files when importing, or add files in several batches. AudioKies applies the same MP3 settings and converts them in one go.
Are my audio files uploaded anywhere?+
No. AudioKies processes files locally on your computer, so your music and recordings do not need to be uploaded to a web service.
Where can I find the converted MP3 files?+
They are saved in the Output Folder selected in Step 4. You can open that folder directly after the conversion finishes.
💬 Reviews