
In the age of digital music, audiophiles and casual listeners alike often find themselves navigating various audio formats to find the perfect balance between sound quality and file size. Two popular formats in this realm are FLAC and OGG. FLAC is revered for its pristine sound that captures every nuance of your favorite tracks, whereas OGG provides a more compressed option without sacrificing too much quality, making it ideal for streaming and portable devices.
If you're looking to convert your FLAC files to OGG to enjoy them on the go, AudioKies is a user-friendly solution that simplifies the process. In this blog post, we'll walk you through the steps to convert FLAC files to OGG using AudioKies, ensuring you can enjoy your music in the format that best suits your listening needs.
How to Convert FLAC to OGG Using AudioKies
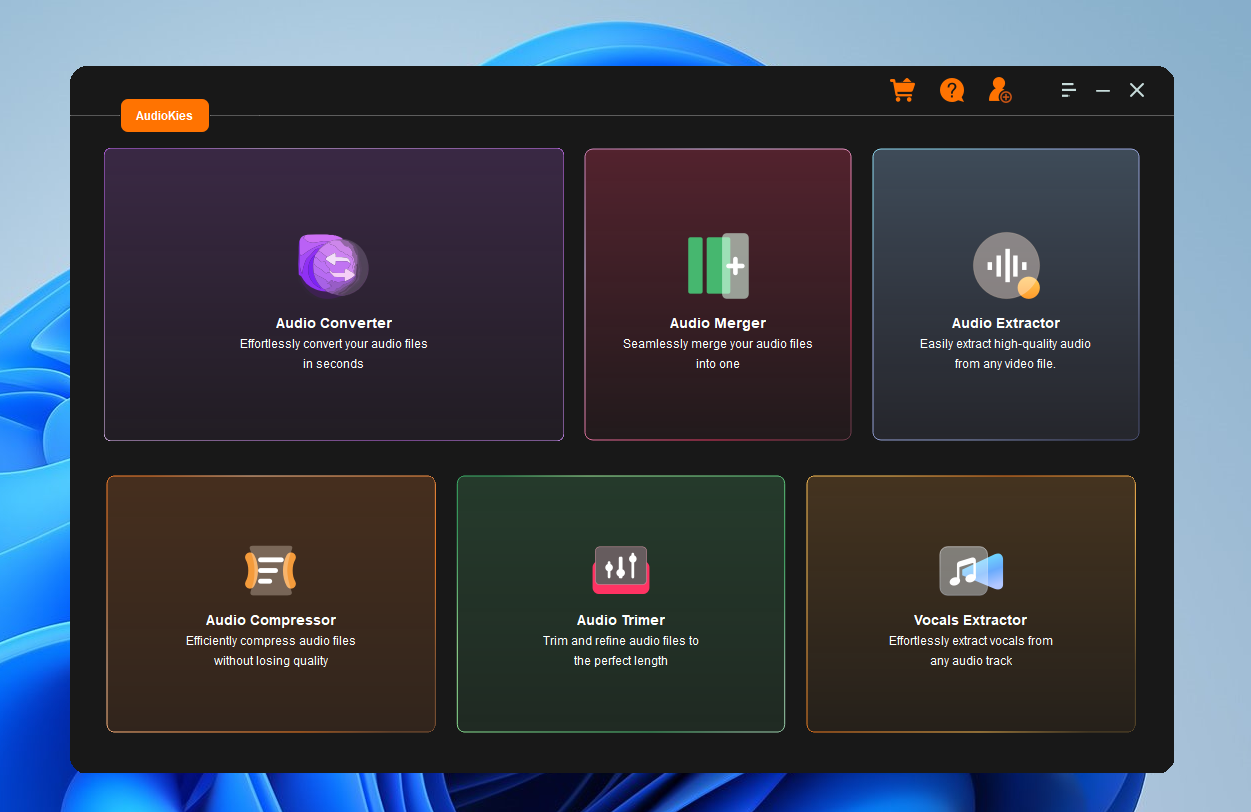
AudioKies is a versatile and powerful tool designed to meet all your audio conversion needs. AudioKies offers a user-friendly interface and a wide range of features to simplify the process. Supporting a multitude of formats, including OGG, MP3, M4A, M4R, WAV, FLAC, AAC, and more, this software ensures high-quality output while providing options for bitrate, sample rate, and audio channels. Perfect for both beginners and advanced users, AudioKies is an essential tool for anyone looking to manage and optimize their audio files with ease.
Step 1.Download and Install AudioKies
Click the below button to download AudioKies on your PC or Mac. Once downloaded, open the installer and follow the on-screen instructions to install AudioKies on your computer.


Step 2: Add FLAC Files to the Converter
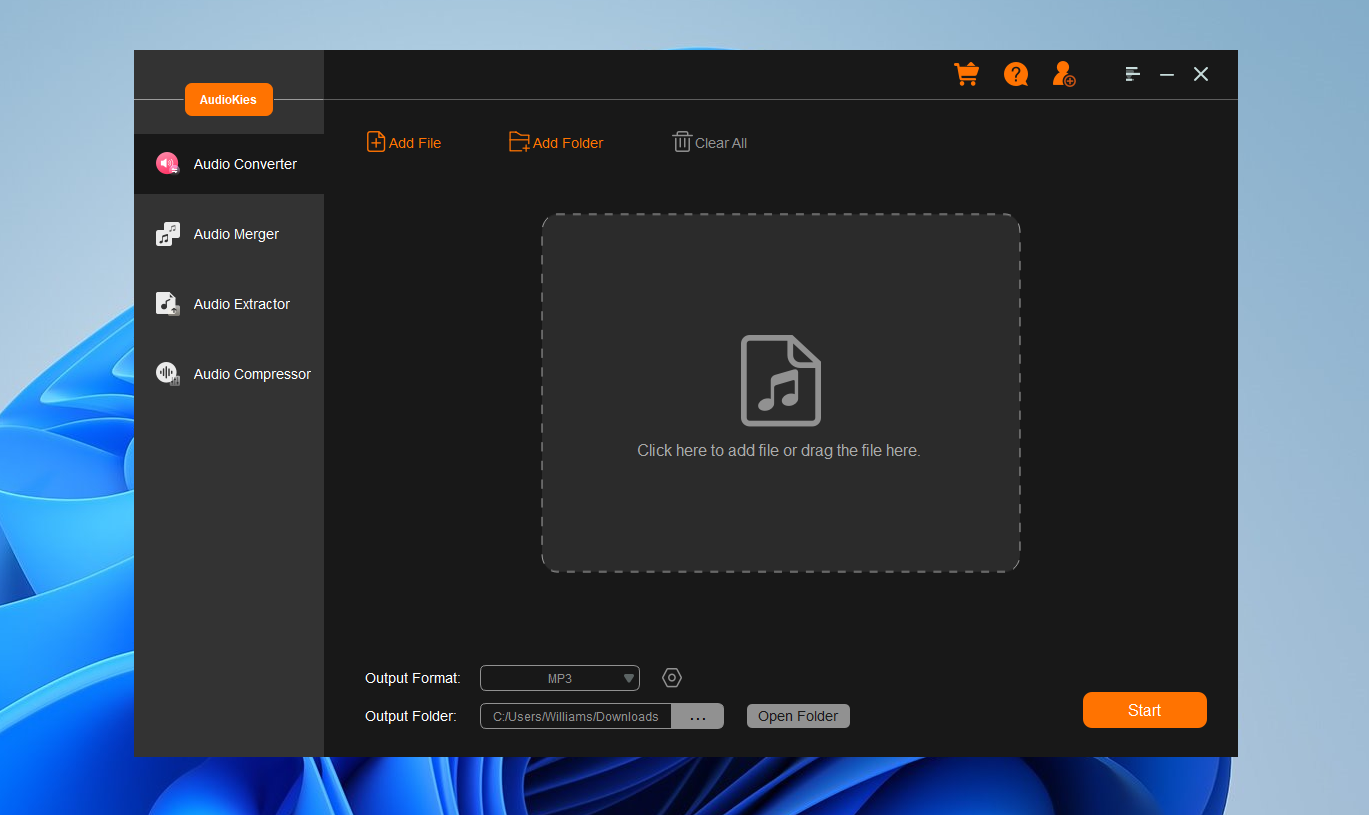
After installation, launch AudioKies by double-clicking the desktop icon. In the main interface of AudioKies, click on the "Add File" button. A file browser window will open. Navigate to the location of your FLAC files, select them, and click "Open" to add them to the converter.
Step 3: Select OGG as the Output Format
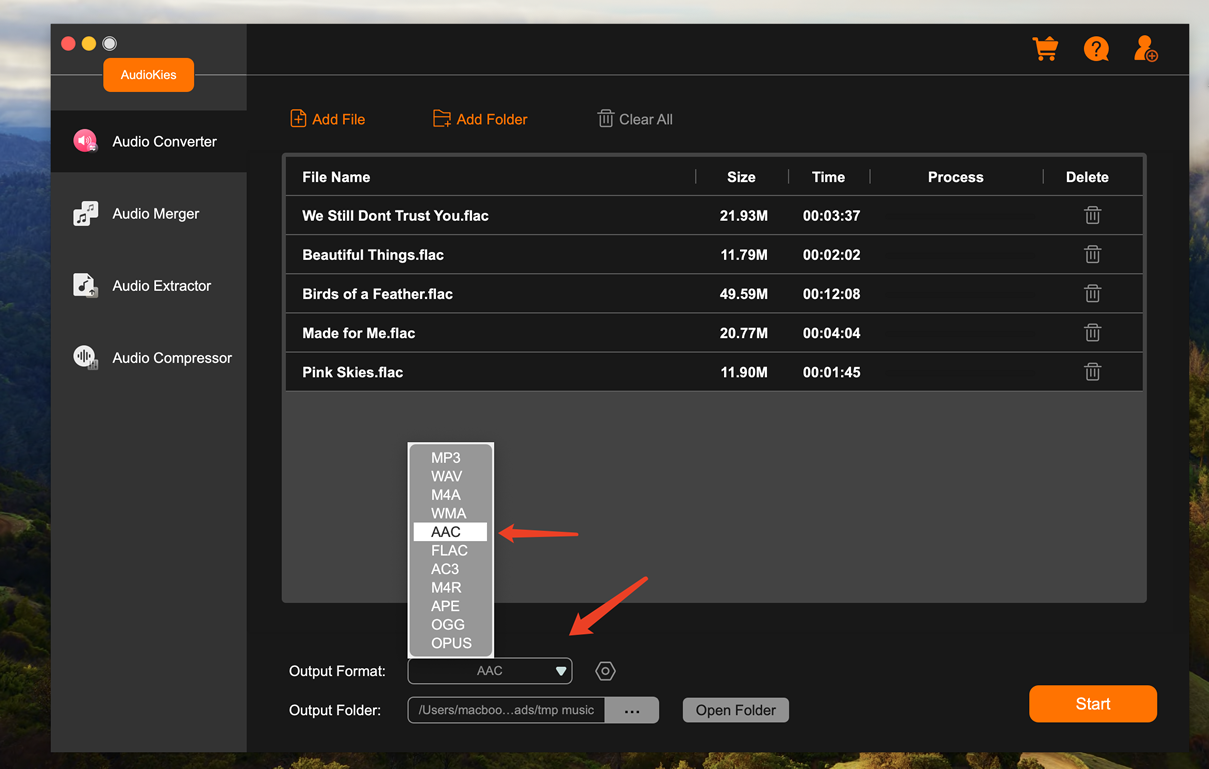
Once your FLAC files are added, click on the "Output Format" dropdown menu at the bottom of the window. In the profile list, select "OGG" as the desired output format.
Step 4. Start Converting FLAC to OGG
Click the "Output Folder" button and choose a folder where you want to save the converted OGG files and click "OK." Once all settings are configured, click the "Start" button to start the conversion process. AudioKies will begin converting FLAC files to OGG. You can monitor the progress in the conversion window.
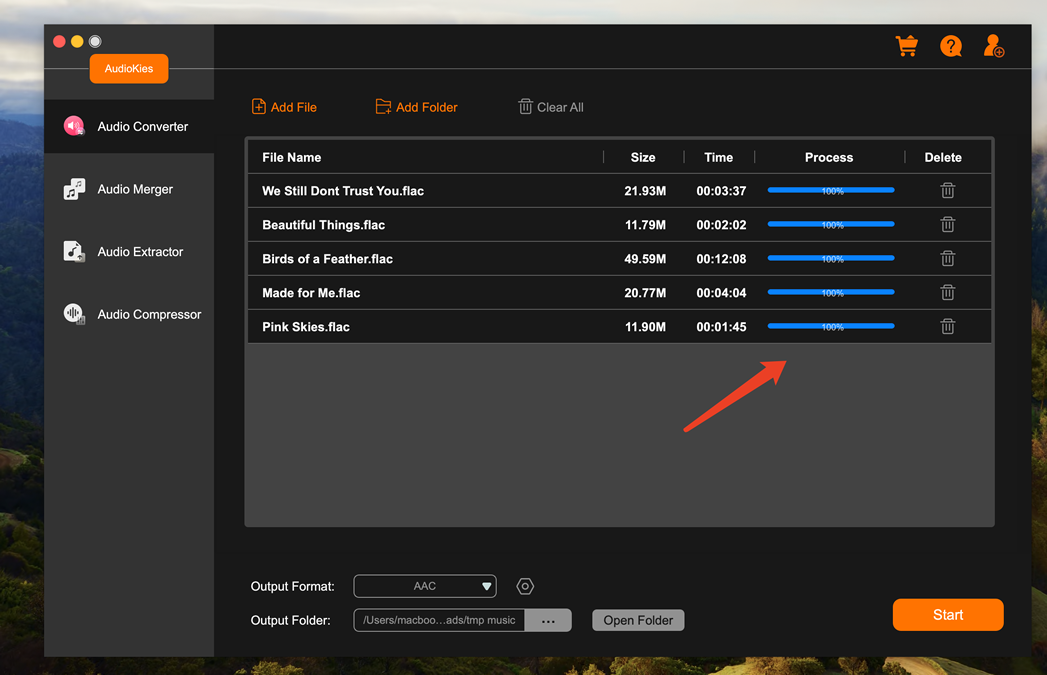
Once the conversion is finished, open the folder and you will see the converted M4R files from there.
Summary
Converting FLAC files to OGG with AudioKies is a straightforward process that enables you to adapt your audio library for convenience without significantly compromising sound quality. Whether you're looking to save space on your devices or optimize your tracks for streaming, AudioKies provides a reliable solution to streamline this conversion. With just a few clicks, you can enjoy your favorite music in the versatile OGG format, ready for any scenario—be it relaxation at home or an energetic workout. Now that you know the steps, why not try converting a few tracks today and experience the benefits of having your favorite tunes in multiple formats? Happy listening!